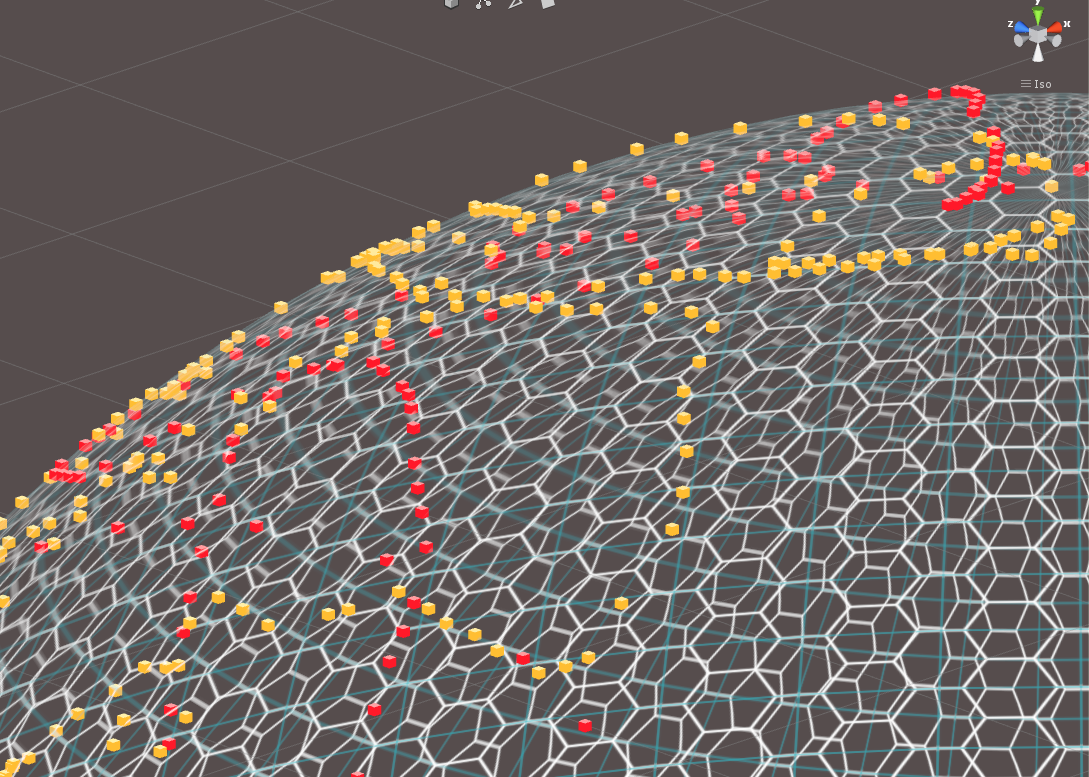
Select Events with Rotary Buttons
2: Toggle Paint New Hex intersections
3. Line Draw
4. Equi Distant Note Points
FOR SteamVR - Launch App - Don't Prime
https://www.reddit.com/r/Vive/comments/4eu3uh/how_to_revive_your_nonworking_vive_tips_and_tricks/
Drawing Lines
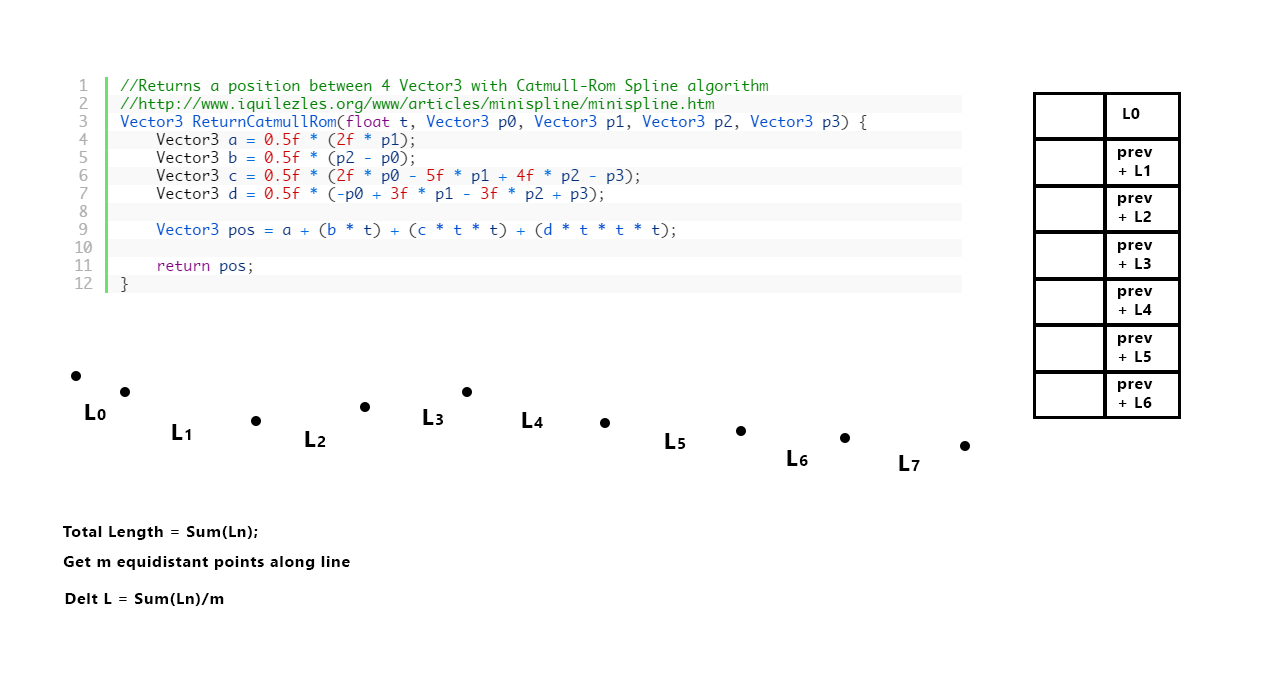
In this tutorial we will focus on the very basics. We will create a smooth path between a series of empty GameObjects. And if we want to create a connected path so it can form a loop, we will also be able to do that. So what you first have to do after you have created a new scene in Unity is to create an empty GameObject. As children to that GameObject, you should create more empty GameObjects. Name these something like p1, p2, p3,… because they will form our path. Remember to create at least 4 of them, because that is the minimum number of so-called control points in a Catmull-Rom spline. Then create a new script called CatmullRomSpline. Add the following code in the beginning.
Step 1 is to just display the control points. We will do that in a method called OnDrawGizmos(). That method will update continuously even though we haven’t pressed the play button. Also drag the path you created (p1, p2, p3,…) to your list (click on the GameObject to which you attached the script and drag the points to the “Control Points List”). If you go to the Unity editor, you should now see spheres at the same positions as the control points.
//Display without having to press Play
void OnDrawGizmos() {
Gizmos.color = Color.white;
//Draw a sphere at each control point
for (int i = 0; i < controlPointsList.Count; i++) {
Gizmos.DrawWireSphere(controlPointsList[i].position, 0.3f);
}
}
Now we will add the Catmull-Rom spline. If you have 4 control points called p0 p1 p2 p3, you will be able to add a smooth path between the 2 middle points (p1 and p2) and not all 4. To do that, we will use all 4 points, and then move from p1 to p2 with a distance (or resolution) called t. t will always be between 0 and 1, where 0 is exactly at the same coordinate as p1 and 1 is exactly at the same coordinate as p2. It might sound complicated, but I believe this is the best explanation: Introduction to Catmull-Rom Splines.
The coordinate of a vector in 3d space at distance t between p1 and p2 is given by the following method. So add it!
//Returns a position between 4 Vector3 with Catmull-Rom Spline algorithm
//http://www.iquilezles.org/www/articles/minispline/minispline.htm
Vector3 ReturnCatmullRom(float t, Vector3 p0, Vector3 p1, Vector3 p2, Vector3 p3) {
Vector3 a = 0.5f * (2f * p1);
Vector3 b = 0.5f * (p2 - p0);
Vector3 c = 0.5f * (2f * p0 - 5f * p1 + 4f * p2 - p3);
Vector3 d = 0.5f * (-p0 + 3f * p1 - 3f * p2 + p3);
Vector3 pos = a + (b * t) + (c * t * t) + (d * t * t * t);
return pos;
}
To be able to use ReturnCatmullRom() we have to add the following to OnDrawGizmos(). It will basically iterate through the control points and see if we should generate a Catmull-Rom spline from the current control point to the next, and if we want a path that loops.
//Returns a position between 4 Vector3 with Catmull-Rom Spline algorithm
//http://www.iquilezles.org/www/articles/minispline/minispline.htm
Vector3 ReturnCatmullRom(float t, Vector3 p0, Vector3 p1, Vector3 p2, Vector3 p3) {
Vector3 a = 0.5f * (2f * p1);
Vector3 b = 0.5f * (p2 - p0);
Vector3 c = 0.5f * (2f * p0 - 5f * p1 + 4f * p2 - p3);
Vector3 d = 0.5f * (-p0 + 3f * p1 - 3f * p2 + p3);
Vector3 pos = a + (b * t) + (c * t * t) + (d * t * t * t);
return pos;
}
//Display a spline between 2 points derived with the Catmull-Rom spline algorithm
void DisplayCatmullRomSpline(int pos) {
//Clamp to allow looping
Vector3 p0 = controlPointsList[ClampListPos(pos - 1)].position;
Vector3 p1 = controlPointsList[pos].position;
Vector3 p2 = controlPointsList[ClampListPos(pos + 1)].position;
Vector3 p3 = controlPointsList[ClampListPos(pos + 2)].position;
//Just assign a tmp value to this
Vector3 lastPos = Vector3.zero;
//t is always between 0 and 1 and determines the resolution of the spline
//0 is always at p1
for (float t = 0; t < 1; t += 0.1f) {
//Find the coordinates between the control points with a Catmull-Rom spline
Vector3 newPos = ReturnCatmullRom(t, p0, p1, p2, p3);
//Cant display anything the first iteration
if (t == 0) {
lastPos = newPos;
continue;
}
Gizmos.DrawLine(lastPos, newPos);
lastPos = newPos;
}
//Also draw the last line since it is always less than 1, so we will always miss it
Gizmos.DrawLine(lastPos, p2);
}
//Clamp the list positions to allow looping
//start over again when reaching the end or beginning
int ClampListPos(int pos) {
if (pos < 0) {
pos = controlPointsList.Count - 1;
}
if (pos > controlPointsList.Count) {
pos = 1;
}
else if (pos > controlPointsList.Count - 1) {
pos = 0;
}
return pos;
}
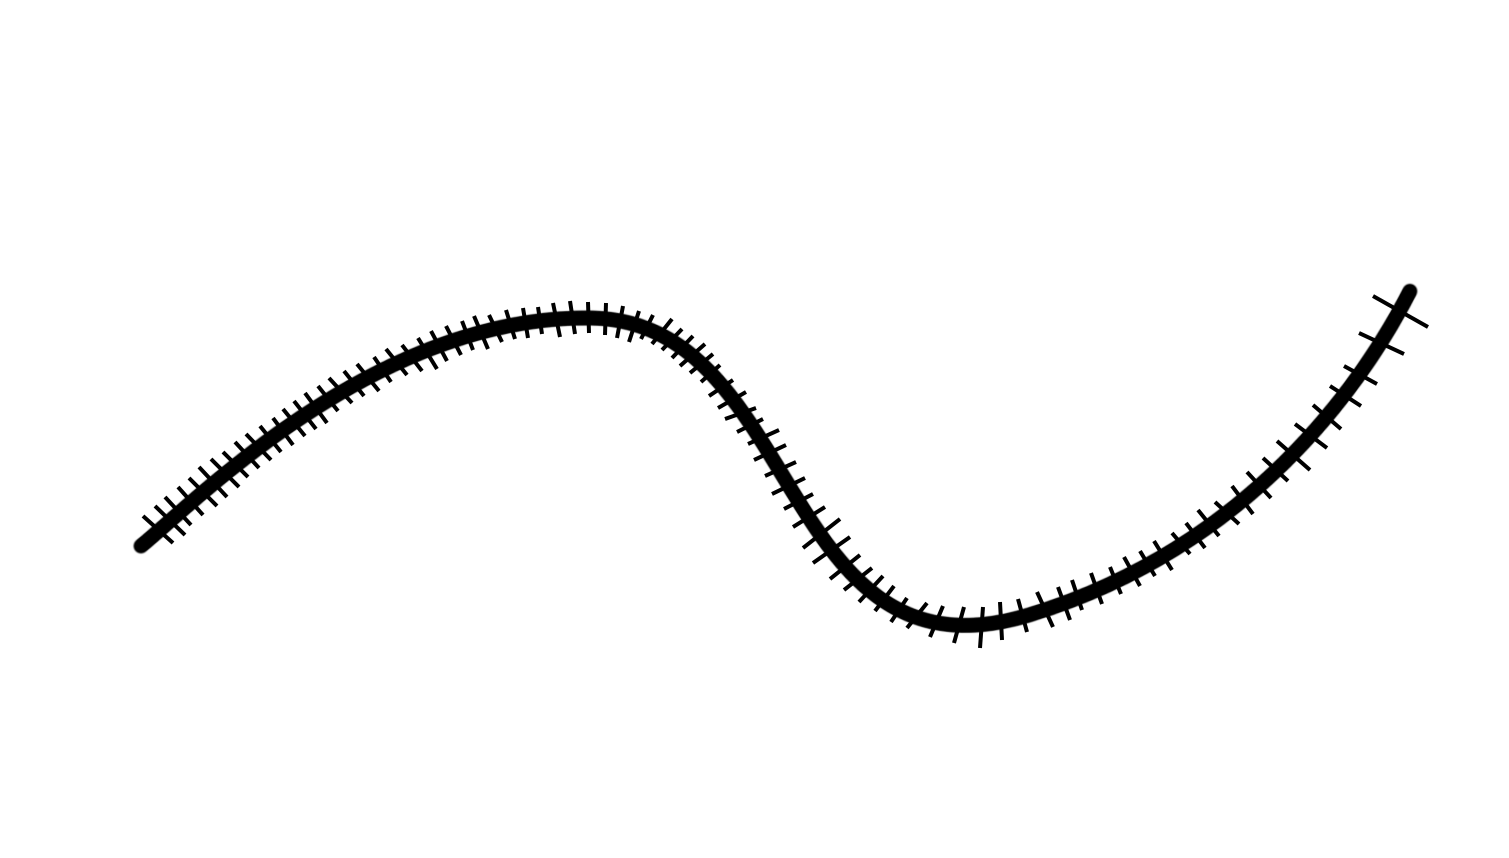
That wasn’t too difficult? If you go to the editor you should be able to do this:

In the specific Catmull-Rom form, the tangent vector at intermediate points is determined by the locations of neighboring control points. Thus, to create a C1 continuous spline through multiple points, it is sufficient to supply the set of control points and the tangent vectors at the first and last control point. I think the standard behavior is to use P1 – P0 for the tangent vector at P0 and PN – PN-1 at PN.
According to the Wikipedia article, to calculate the tangent at control point Pn, you use this equation:
T(n) = (P(n – 1) + P(n + 1)) / 2
This also answers your first question. For a set of 4 control points, P1, P2, P3, P4, interpolating values between P2 and P3 requires information form all 4 control points. P2 and P3 themselves define the endpoints through which the interpolating segment must pass. P1 and P3 determine the tangent vector the interpolating segment will have at point P2. P4 and P2 determine the tangent vector the segment will have at point P3. The tangent vectors at control points P2 and P3 influence the shape of the interpolating segment between them.
USE Splines

public class CatmullRomSpline : MonoBehaviour {
	//Has to be at least 4 so-called control points
	public List<Transform> controlPointsList = new List<Transform>();

	public bool isLooping = true;
}