Unity Shader Lab
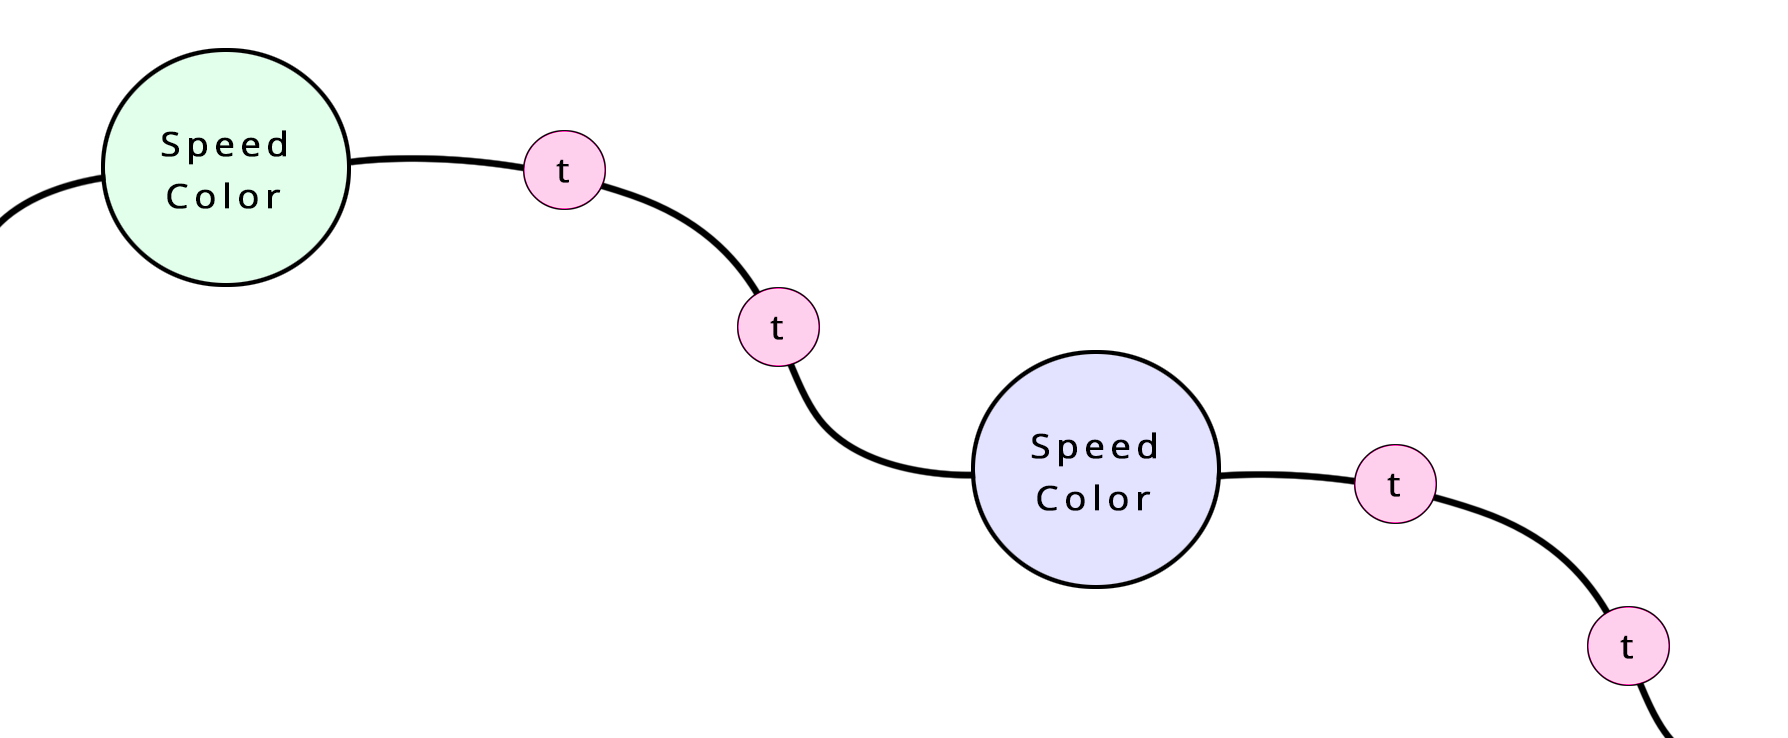
Design Idea: Move along a given path at given rate. A personalized adaptive rate – not too fast – not too slow –
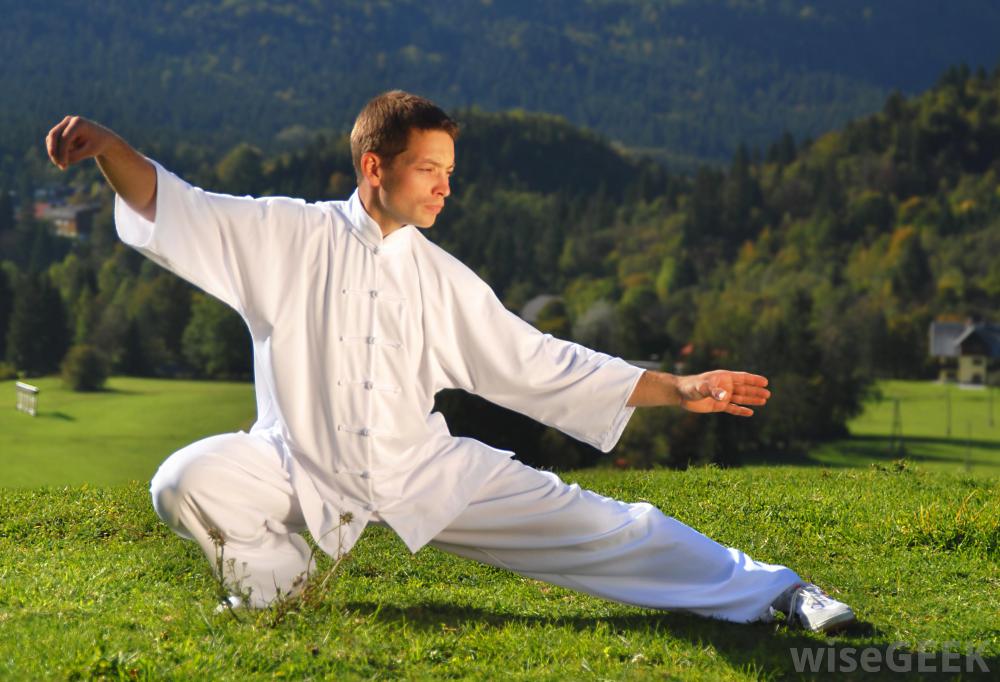
Like moving through a Tai chi exercise. Move along beautiful curves – Meditative – Challenging – Staying within range – the skills developed are:
-
Accuracy
-
Fluidity
-
Continuity
-
Endurance
Luke,
I’m liking this idea this evening, a bit along our original concepts:
This can be applied to various AR/VR platforms and different controllers of course.
The design/app is used to develop smooth body movement, endurance and fluidity through monitored tai chi like movements.
Much like you would practice handwriting or calligraphy except your body is the cursor/stylus. The monitored movement is game- like – perhaps chased from behind it too slow – danger zone if too fast. the goal is precision, fluidity and endurance.
This is a graduated program, 5 to 10 minute monitored sessions help you develop expertise and prepare you to test to get to the next set of exercises and advanced levels.
It is a meditative experience which focuses on developing: Accuracy, Focus, Fluidity, Continuity, Endurance
Designed and promoted to enhance ones natural physical and creative abilities.

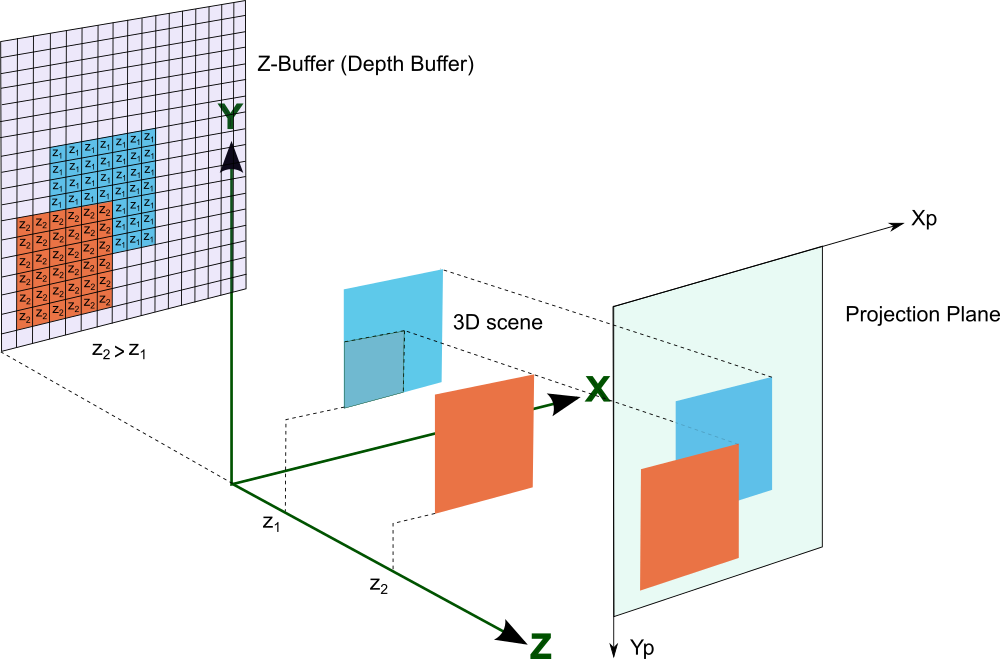
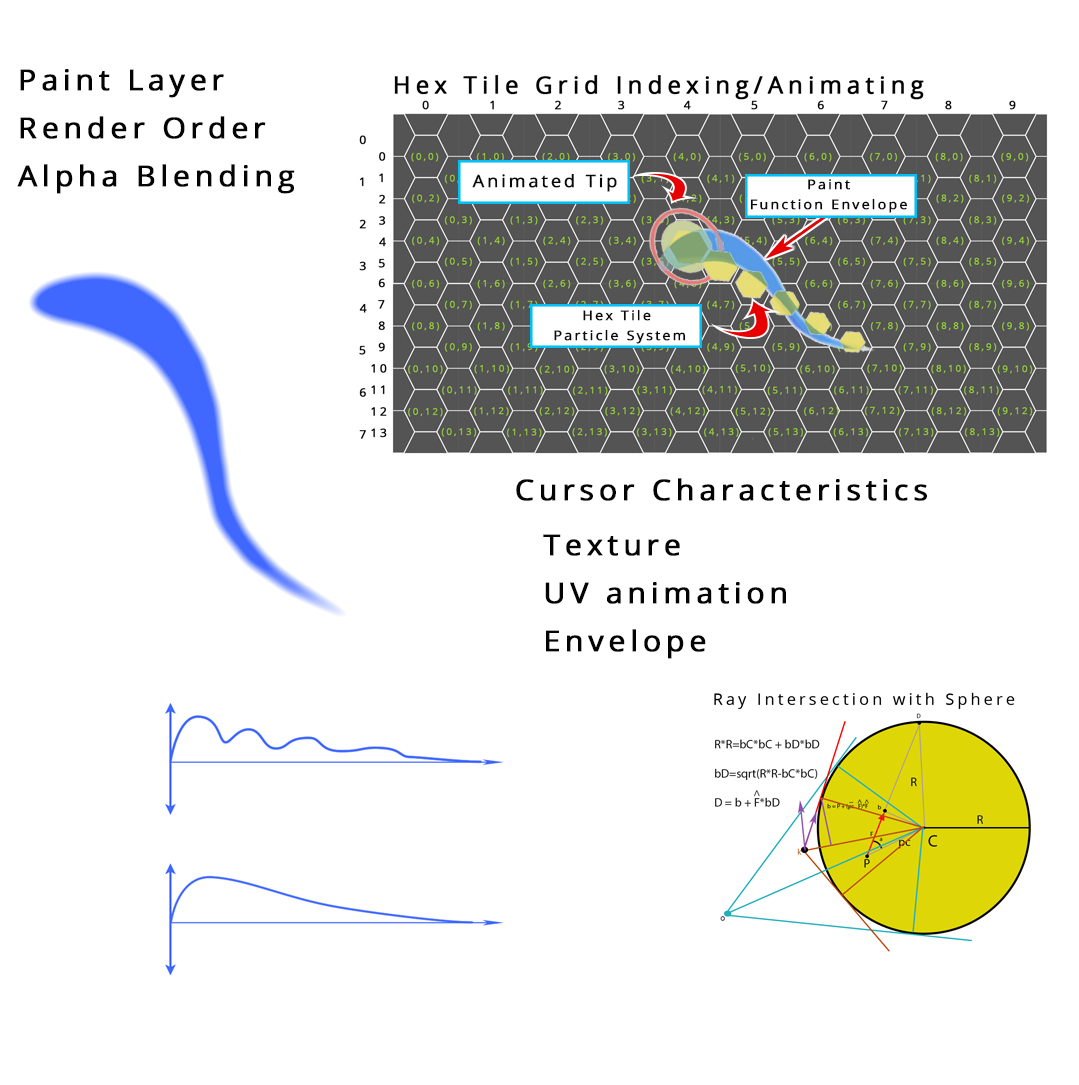
rendering alpha – z buffer – cutout shaders
Usually, objects are drawn using the z-buffer, which draws a depth image as it renders the scene. This ensures that only the closest pixel is drawn, so everything appears in the right order. The problem occurs with transparent objects, or, more precisely, semi-transparent pixels. When objects are semi-transparent, they cannot be accurately written into the depth buffer. This is because the z-buffer makes the assumption that only one object will need to be drawn in any one pixel on the screen, in exchange for extremely fast sorting. Semi-transparent objects require multiple pixels to be drawn at the same point, and so they have to be drawn either before or after the rest of the image. Naturally, this produces some sorting errors, because per-pixel sorting, as found in the depth buffer, is not feasible. In Unity, the sorting method just takes the centre point of the mesh, and assumes that the entire mesh lies at the same depth value. The practical upshot of this is that if the centre of your transparent object goes behind another object, then the entire object will be rendered behind it.
 Now that we’ve discussed the cause, let’s talk about solutions. There are, in fact, a few possible ones, though they all involve trade-offs. I’ll discuss 3 here:
- Cutout Shaders. Cutout shaders solve this problem by applying a filter to the texture, giving every pixel a boolean value: visible or not visible. This allows complex shapes to be drawn, and since no pixel is semi-transparent, the depth buffer to be used. The trade-off here is with smoothness – you will lose the nice, soft edges you get with transparent objects. This is the most accurate solution, and for small, distant, or high-res textures, this is definitely the best one.
- Segmented Meshes. This is a little more difficult to get right, and is only an approximation. The idea is that instead of having one large mesh, you separate it into several small ones, each carrying a part of the texture. Since the transparency sorting is on a per-mesh basis, this will allow the problem to become rarer, as each part of the object can be sorted individually. The trade-offs here are in performance, and difficulty of implementation.
- Z-Writing. Another option is simply to write to the z-buffer anyway. This does work, but does produce some artefacts. Any other semi-transparent object drawn will either always be above, or always be behind, the object you’re drawing, meaning depth sorting between this object and other transparent ones will simply disappear. This is often a good solution if you will very rarely overlap objects, or if your object is against a surface such that no other transparent object will pass beneath it.
- RenderQueue: if we are talking about different meshes (i.e., not within a single mesh), you can control the render order of these objects (or more precisely: of each material) using the shader/material property “renderQueue”, which can be set via script. This will group all objects with the same queue and render them from low to high. (for example, opaque objects use 2000 as default, transparent objects use 3000, and so on. Disadvantage: each unique renderQueue value means an additional render pass/drawcall.
- Z-pre-pass: you can modify your shader code to create an adittional first pass which does nothing except rendering the object(s) exclusively in the Z-buffer. See http://wiki.unity3d.com/index.php?title=AlphaVertexLitZ Advantage: transparent objects use z-Buffer information, and for complex meshes (which are unsortable) you can get smooth transitions especially when fading/switching between transparent and opaque. Disadvantages: You can no longer look “inside” semi-transparent objects, and other transparent objects behind the one you want to render will be invisible. Also, as it is an additional pass, it might be more expenstive (depending heavily on the shape of your objects).
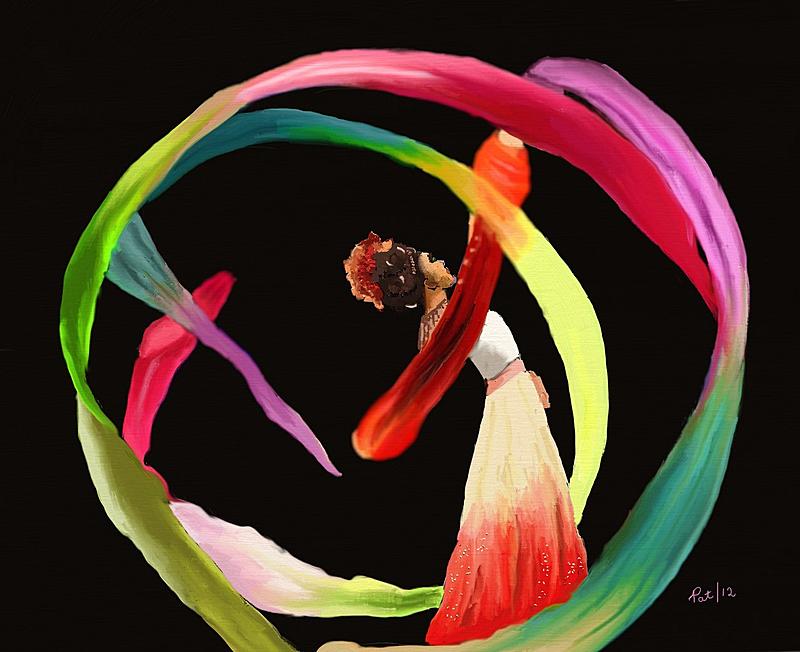
Modify Texture and trail as function of velocity – Dots and lines to show path –